Home Repair Resource Center is a nonprofit organization in Cleveland Heights, OH. We strive to empower residents with the knowledge and skills they need to maintain their homes for sustainable & diverse communities.
Latest News
Free Monday: Recycle Right with Cuyahoga Recycles
📅Date: Monday June 15th⏰ Time: 7-8:30 PM📍Location: 2520 Noble Rd. Cleveland Heights, Oh 44121 Ready to learn best practices for recycling right? Join us to discuss what belongs in your recycling cart or bin, plus why and how to prepare items properly. We’ll also talk about what, where, how, and...
Read More
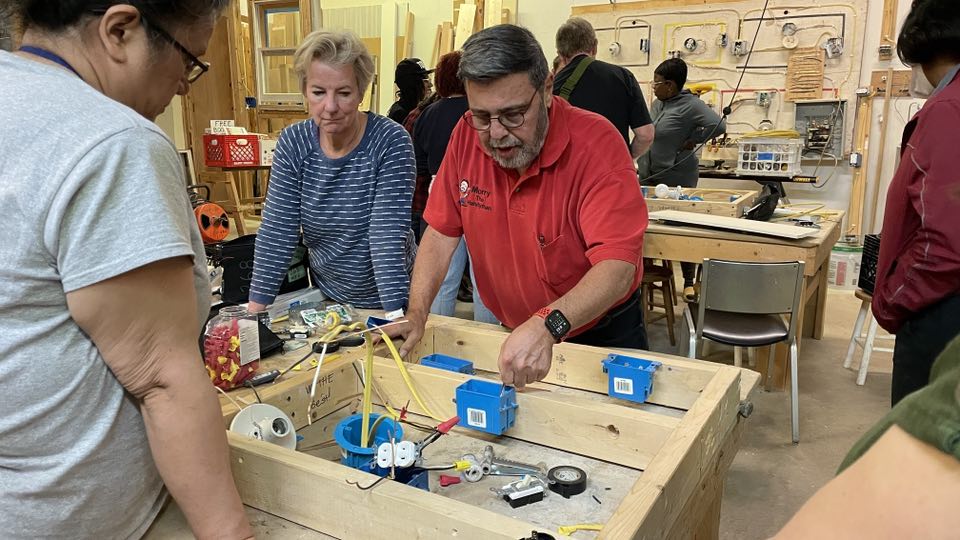
Women’s Electrical Series
Women's Electrical Series June 17th - July 22nd 7-9PM2520 Noble Rd Cleveland Heights, Oh 44121 Don't be in the dark any longer! This series of classes will teach you the basics of electricity--how it gets into your home, how it moves around your home, and how to work with it...
Read More

Trim Carpentry Basics
📅Date: Tuesday June 9th⏰ Time: 7PM📍Location: 2520 Noble Rd. Cleveland Heights, Oh 44121 Trim Carpentry BasicsJoin us to learn the basics of trim carpentry. In this hands on class you will learn how the basics of trim carpentry working with a union carpenter. You will learn how to install base...
Read More

-
- See Available Classes
-
- Register
- Apply for Discounts

-
- Financial Counseling
-
- Check Your Credit
- Home Buyers Classes

-
- Visit Our Resource Library
-
- Download Repair Handouts
- Access Resource Articles

-
- Grants
-
- Loans
- Loan Matching

-
- Join the Tool Library
-
- View Available Tools
- Borrow Tools

-
- Counseling
-
- Prevention Options
- Intervention Documents